Vertical Gardening – Part I
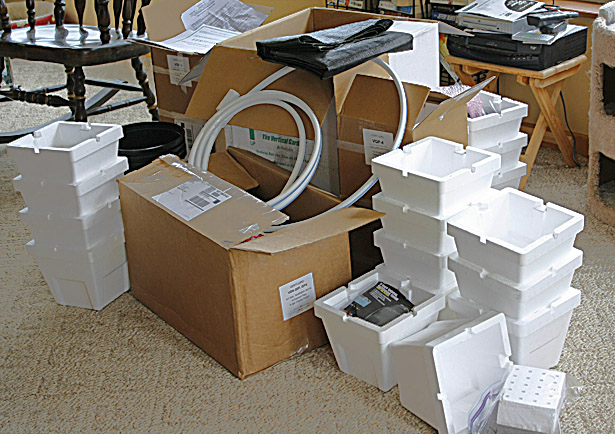
Christmas arrived in April! UPS delivered the much-anticipated hydroponic gardening system…some assembly is required!
Our long-time source of strawberries stopped growing them last year, so Susan and I decided that this is one fruit that we would try to grow on our own. We planned a traditional plot with a couple hundred plants that would be a border of our regular garden. While driving one of the local back-roads, we chanced across a small plot of posts with stacks of white boxes attached- and a sign,”Strawberries coming soon!”. We did some research, and found that we had seen a hydroponic vertical gardening system. This was very attractive because it would get the berry plants off the ground and away from slugs, bugs, and mice. It also puts them up where I can reach them easier! Another advantage is that the water and nutrient supply can be automated with much better control than we can do with plants in the soil.
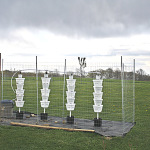
We decided to get two 20-pot systems from “Verti-Gro”:http://vertigro.com so that we can experiment with a variety of plants (strawberries need a different nutrient balance than other garden plants, so they need their own system). We received the kits earlier in the week, and we have strawberry plants on order, so I enlisted the assistance of Susan’s father, Roy, to start setting the systems up. We ended up with a raw, blustery day to work with- this after weeks of unseasonably warm weather.
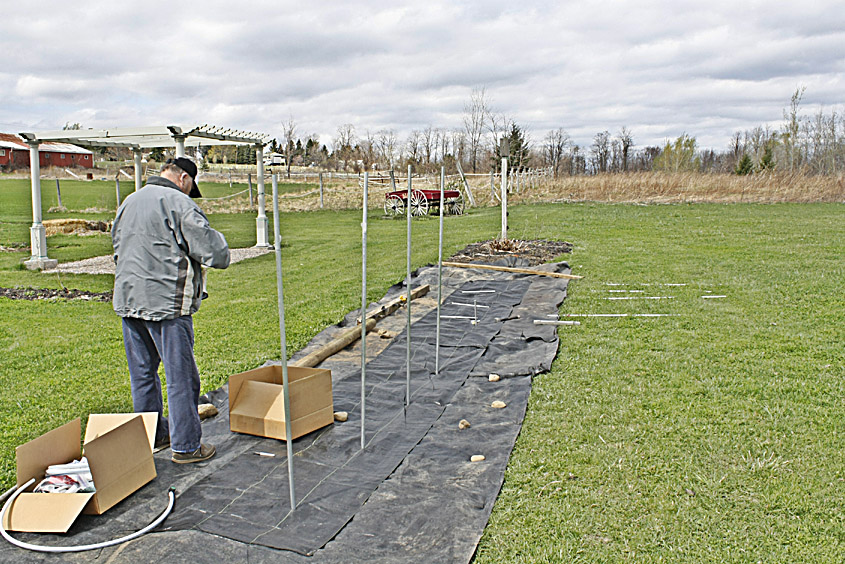
The ground cloth is secured, and the posts are going up.
The kits come with 3 foot by 15 foot ground fabric to go under the stacks of pots. We will have to fence the garden to keep the deer out, so we need a wider patch covered. We pieced together some pieces of driveway fabric and ran the narrow strips down the middle to keep the edges down. The final size of the pen will be 6 feet by 32 feet. The support posts are driven through the fabric and into the ground.
The kit supplies the ground stakes- 18 inch pieces of half-inch thinwall conduit. The stakes are driven into the ground leaving a couple of inches above ground. The instructions emphasize that the stakes need to be plumb- they just didn’t say how that was supposed to happen. In this part of the world, driving a stake without hitting a rock is as likely as winning the lottery. A 5-foot length of 3/4-inch thinwall is driven over the ground stake, and this is what supports the pots.
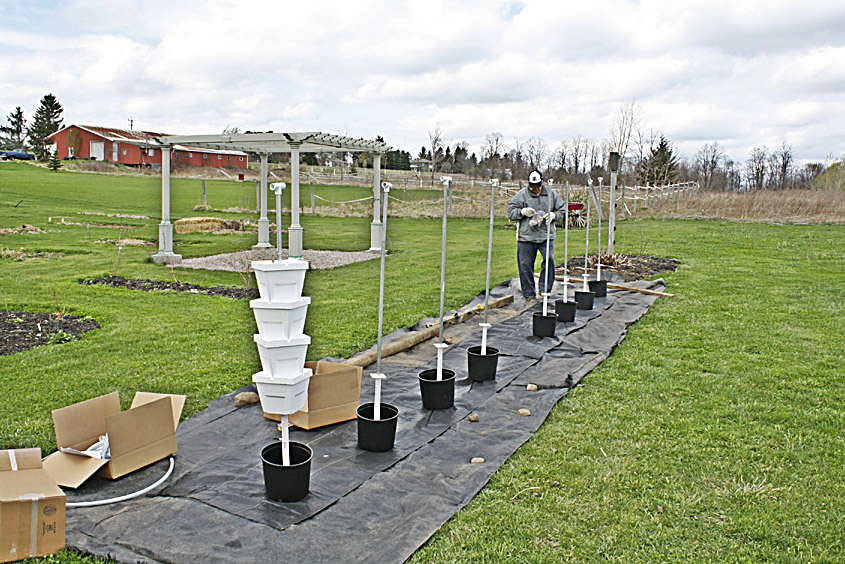
The ground pots are slipped over the posts, and the standoff pieces are dropped in.
When the posts were completed, the ground pots were slipped over them. These are pots that catch the leftover liquid and nutrients that come down the stacks. In the regular garden system we will put larger plants such as cabbage or pumpkins in the ground pots. Next, a length of PVC 1-inch pipe and a plastic square go over the post to support the planting pots, and then the pots themselves. We won’t be planting the pots now so we just stacked an empty set to get a feel for how much room they needed, then ran the tubing and tees to the posts.
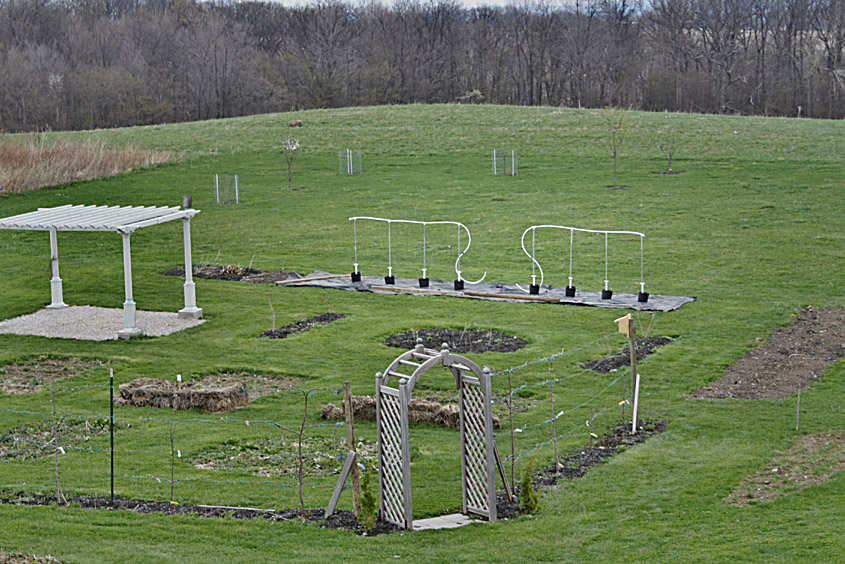
The posts with the distribution lines in place. The gap in the middle is where the supply barrels will sit.
Roy and I decided that we’d had enough wind, and called it a day. We need to set a 30 to 40 gallon barrel for each system to draw from. The supply line will be connected to a submersible pump in the barrel, and a timer will turn the pump on and off. The pots will have pearlite and coconut fiber to support the roots and hold moisture. We will load the pots when we are ready to set the plants. Stay tuned!