Vertical Gardening- Part II
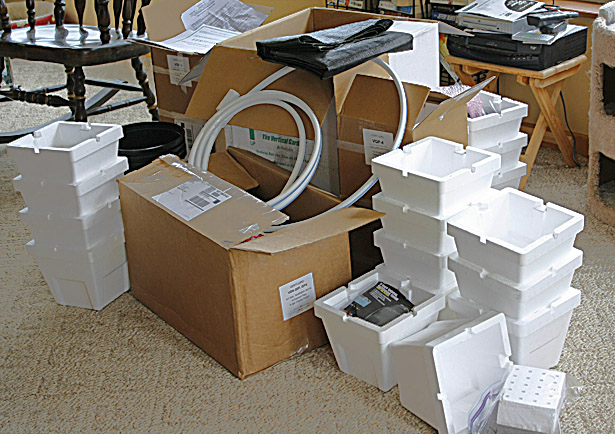
After the base for our new vertical garden was “installed”:https://losgatosbandb.com/lg_blog/textpattern/article/vertical-gardening-part-i , we had an unexpected delay waiting for the bare-root strawberry plants. We ordered three varieties of everbearing strawberries- Ft. Laramie, Ozark Beauty, and Ogllala. We picked up a fourth variety, Albion, at the local nursery. We didn’t want to do any preparation to the pots before planting- a local large scale vertical hydroponic grower had problems with wind blowing the media out of the pots before they could get the plants set. Once the starts arrived, we gathered the materials together and started planting.
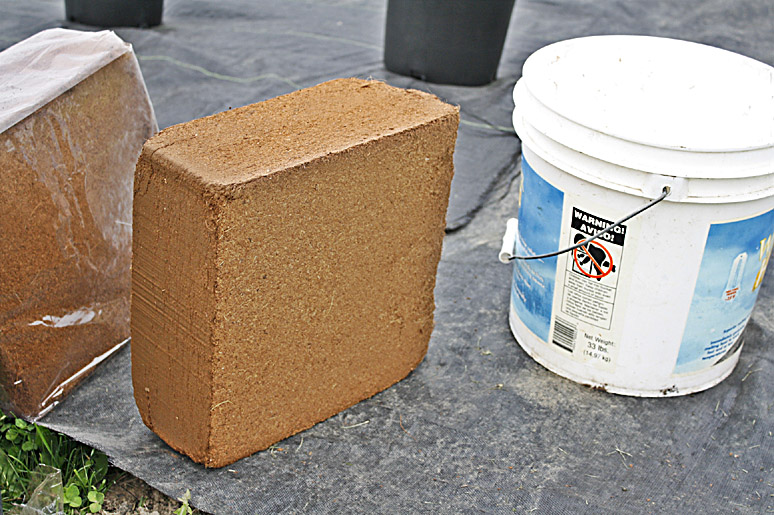
Coconut fiber block- dried and compressed
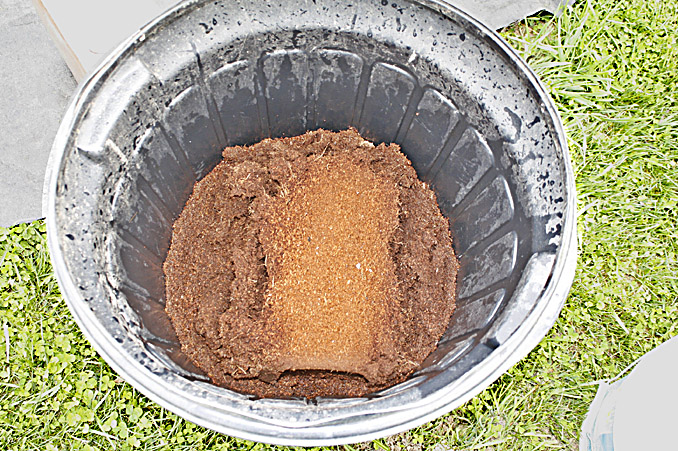
The same block about 30 seconds after 5 gallons of water was poured over it.
Many hydroponic systems use perlite and vermiculite as the medium to support plant roots and hold moisture. In our system, coconut fiber is used with about 25% perlite as the planting media. The coconut fiber retains moisture better than perlite or vermiculite, yet doesn’t pack down. The small part of perlite helps with aeration.
The coconut fiber comes in 10 pound compressed blocks. The blocks absorb water at a fantastic rate- pouring a couple of 5-gallon buckets of water over the block yields a large amount of a light, fluffy material the texture of coffee grounds in a couple of minutes. We mixed 1 part coarse perlite with 3 parts wetted coconut for filling the planters.
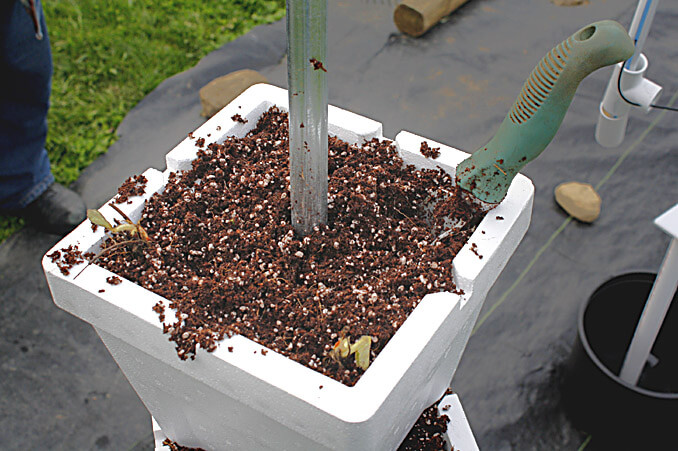
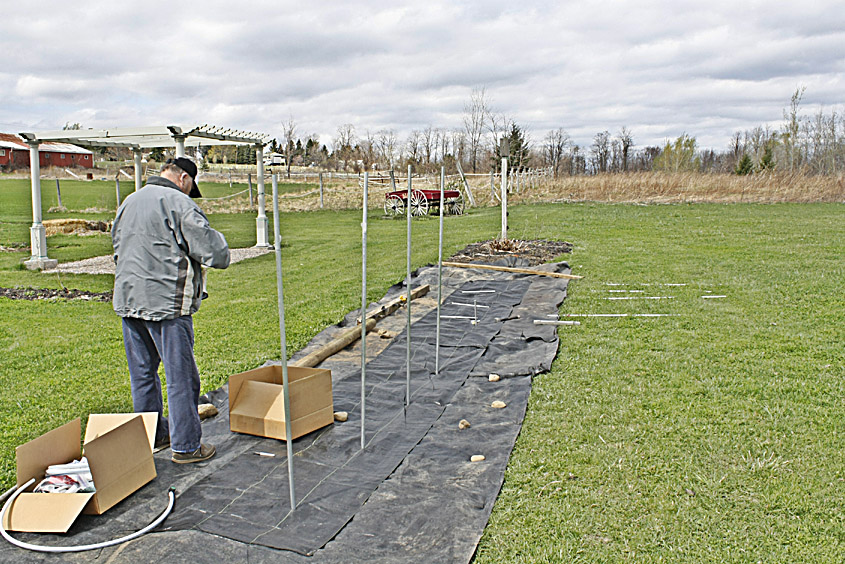
We found it easiest to slip the planter pot onto the support post before filling the pot and planting the strawberries.
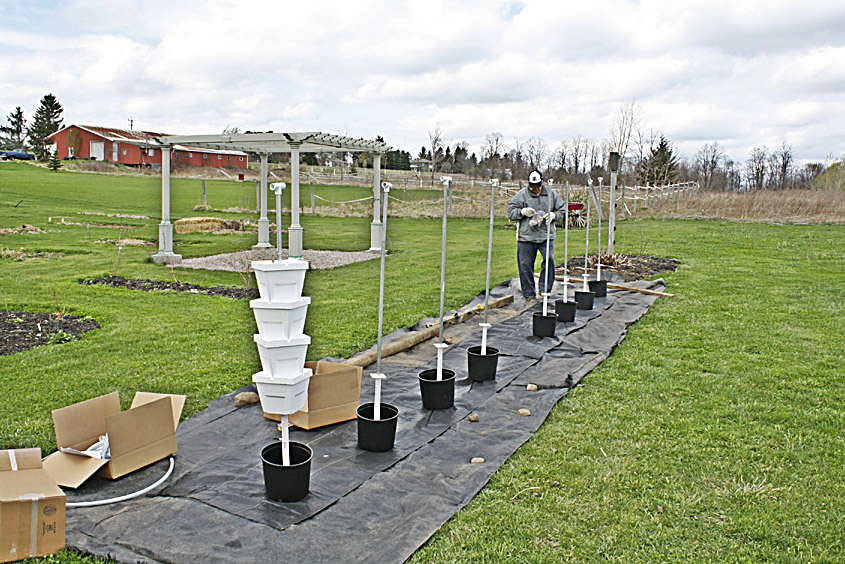
While the pots were being prepared the strawberry starts were soaking in water. Once the pots were in place and filled, the starts were drained and the roots trimmed to about 3″ length and inserted in the media. We planted the starts with the crowns in the corners of the pots, and the roots angled toward the center- the pots stack one over the other, and the nutrients will flow down the center. Once a pot was planted, the next in the stack was placed above it and loaded. Each stack has five planting pots, a small pot with media to distribute the liquids, and a 3 gallon pot on the bottom to catch excess liquid from the stack. We were able to plant 25 plants in each stack.
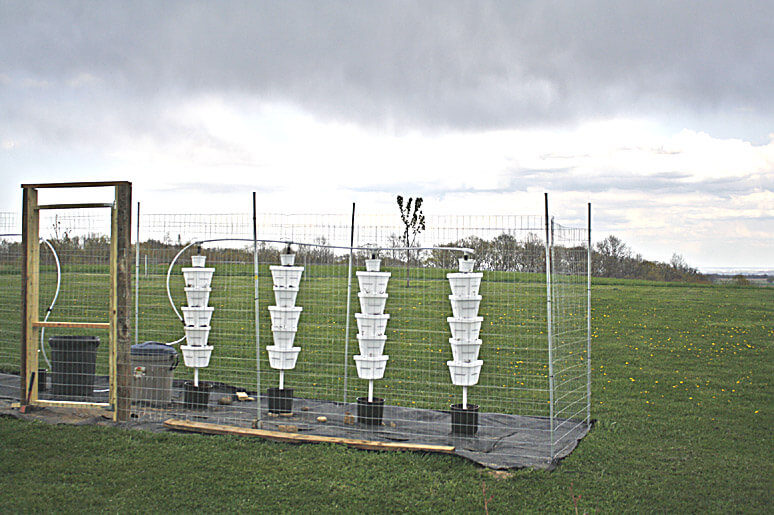
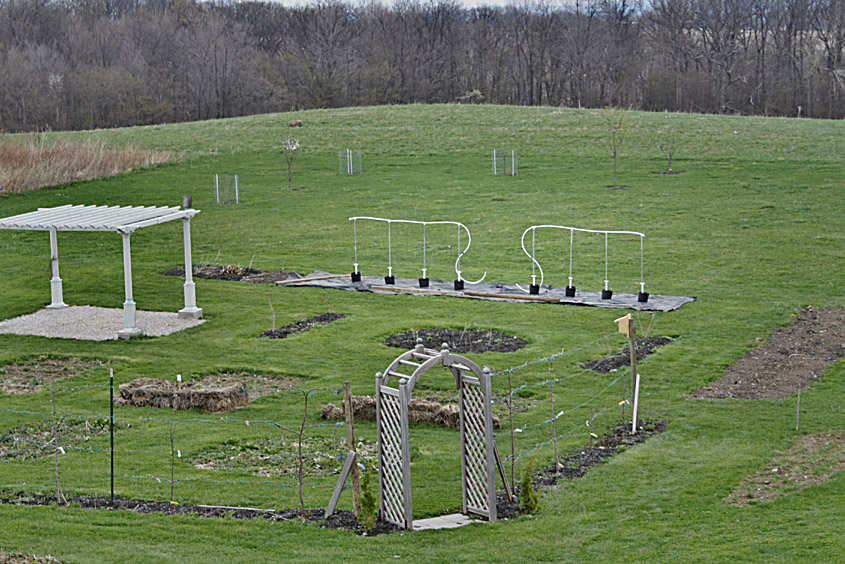
The 4 strawberry stacks are in an enclosure so we don’t have to share with the deer. The misting will occur naturally for the next few days.
The bare root strawberries won’t be able to use much moisture or nutrients for a while- they just need a water mist to keep the leaves from drying out, until the roots start growing. The weather will help with that since we should have light showers for a few days. This will give me time to finish a solar power system for driving the nutrient pump- parts should arrive soon!